Creating a Newsletter Email in Empower
One of the most powerful tools in Empower is the ability to create and send an email Newsletter to your membership. The recipients can be automatically filtered initially or with each Issue of the newsletter, making the communication possibilities endless!
Newsletters are designed to be a series of recurring messages that utilize the same recipient list (or set of parameters) or the same template design. Here are a few examples of how you could utilize the Newsletter feature:
-
Pastor’s Monday morning update (sent to all Active Members, uses the same template each week)
-
A Happy Birthday email (parameters set to Birthday is Today, a templated message using Merge Fields to add personal information)
-
Kid’s Ministry Update (Sent to those households who are a part of children’s Activities)
Newsletters can also be set to be published to a fixed URL that can be publicized outside of email messages.
Let’s walk through the creation of a Newsletter. Keep in mind that we will not hit every customization option in this article. For more tips and tricks for design and format, be sure to view our blog articles as well.
Creating Your First Newsletter
To get started, let’s navigate to the Messaging>Newsletter page by hovering over the Messaging in the top menu and clicking on the Newsletter icon.
In the Page Menu, you will find the buttons to Add, Delete, and Archive Newsletters. Click on the +Add button.
The Add Newsletter pop-up window will appear.
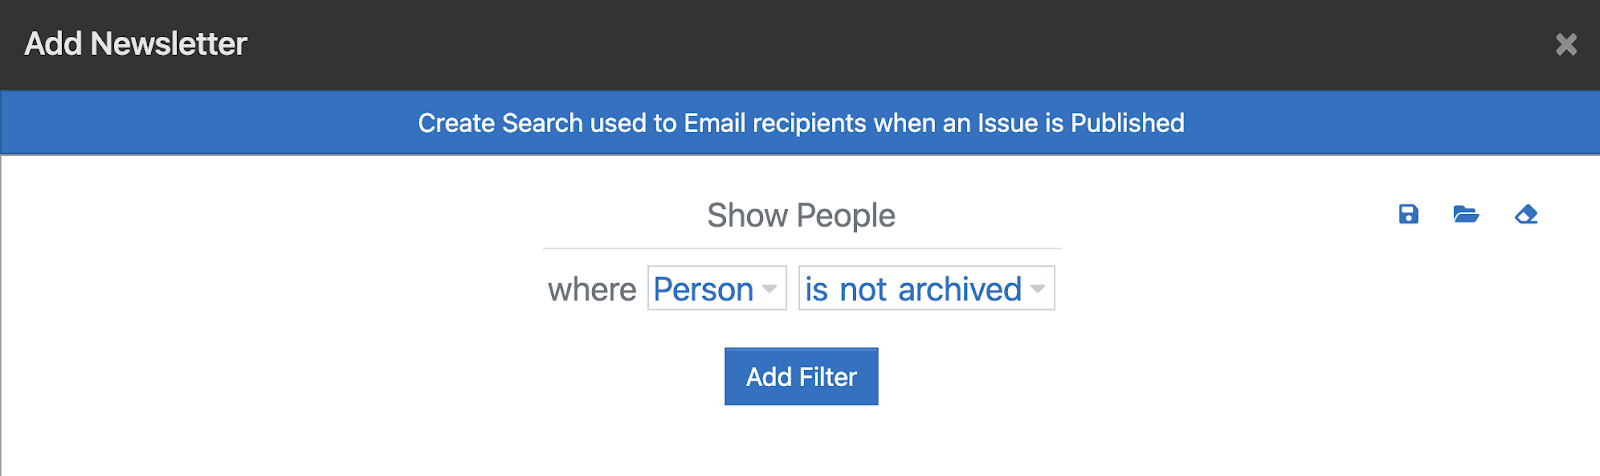
Our first step will be to decide who the Newsletter should be delivered to. This filter works just like the Advanced Search in other tools; limiting the People shown with each filter added. You can also upload your saved searches.
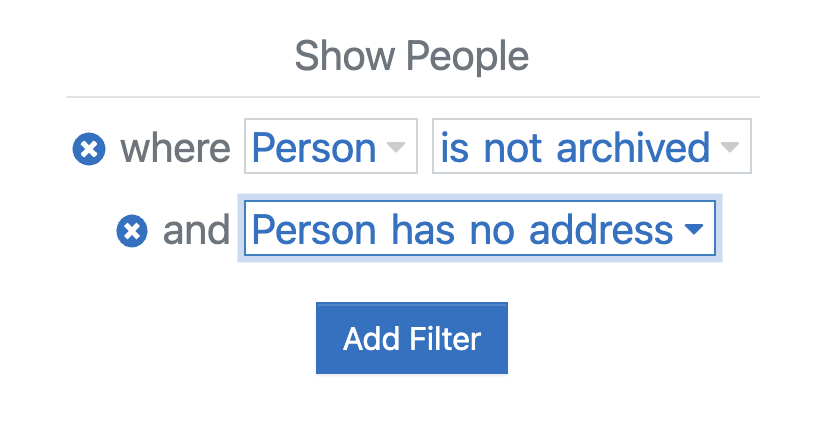
For our example letter, we will create an email that will be sent to all members without a physical address on file. We will send this periodically to update our records. Each time, this same filter will run and only include those people for whom we have not added a physical address.
Clicking Next will take you to the Newsletter Options page. Let’s look over those options:
Default Sender- this is the default sender for this specific Newsletter. Sometimes it might be your pastor, other times it might be the church secretary or other staff members. Remember, only verified emails may be selected.
Title- this is how the Newsletter will be listed in the Navigation pane. Not what the recipient will see, but what you will see in Empower.
Default Subject- This is the Default email subject line. You can change the subject line for each issue, but if no change is applied, this field is the default.
Make Issues URL Public- selecting this will automatically create a published URL from Empower. You can share this URL with others as a published “web” version of your emailed Newsletter.
Issue URL- Empower give you the option to make each issue publicly accessible with a URL (that you can also link to or post on social media). For this field, use a keyword or title that is specific for each Issue.
The URL will be https://yourchurchname.empowerchms.com/Newsletter/Directory/….
The keyword you use here will make up the last part of the URL.
When you’ve filled out all of these fields, click Save.
Your newsletter is now started. It will show up in the navigation pane on the left-hand side of your window. Click it if it’s not already selected.
The profile tabs show different details regarding the specific newsletter. First, let’s take a look at the Newsletter’s template.
Click on the Templates profile tab and then click on the Edit Template button in the top-right of the detail pane.
This will open a pop-up window so that you can edit the Newsletter template. We will go into great detail about the editor in the Newsletter Editor article. For now, let’s just create a simple message that will go to applicable recipients each month.
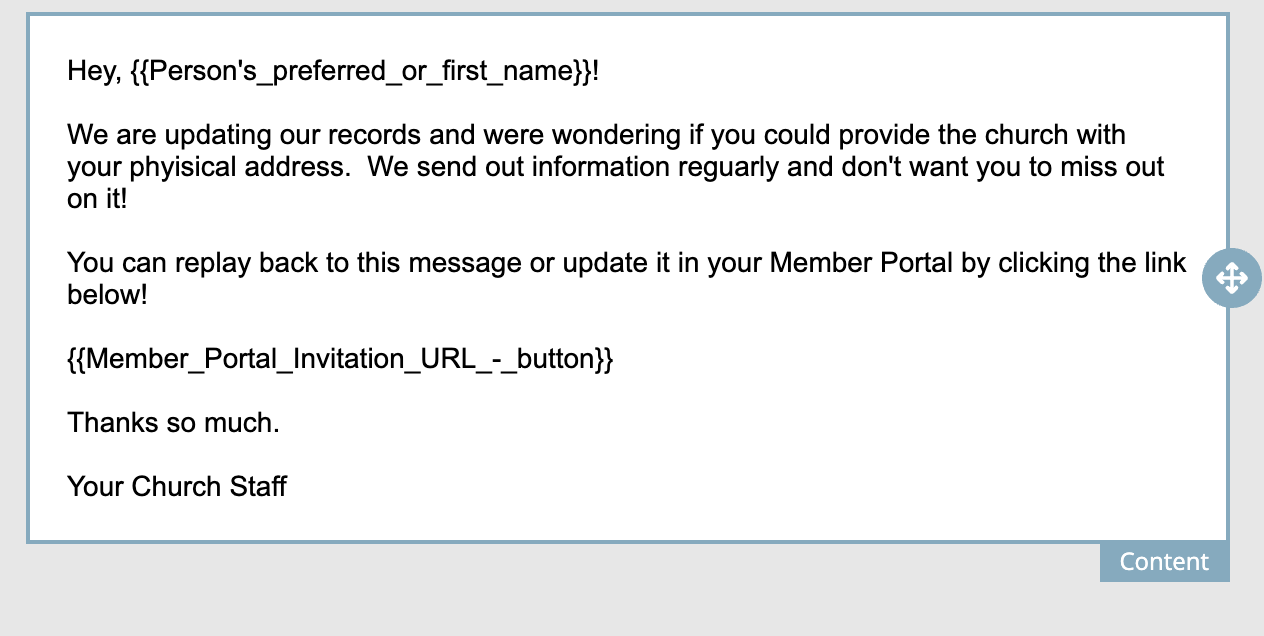
To insert data specific to each recipient, use the Merge Tags drop-down menu and select the desired information. For example, use the Person’s preferred or first name in the salutation for a personal touch.
Once you’re finished, click Save in the bottom right corner of the window.
Next, we’ll take a look at the Recipients tab. This will show us who the Newsletter would be delivered to if it was sent today.
Ours is set to go to anyone without a physical address on file, so it currently looks like this:
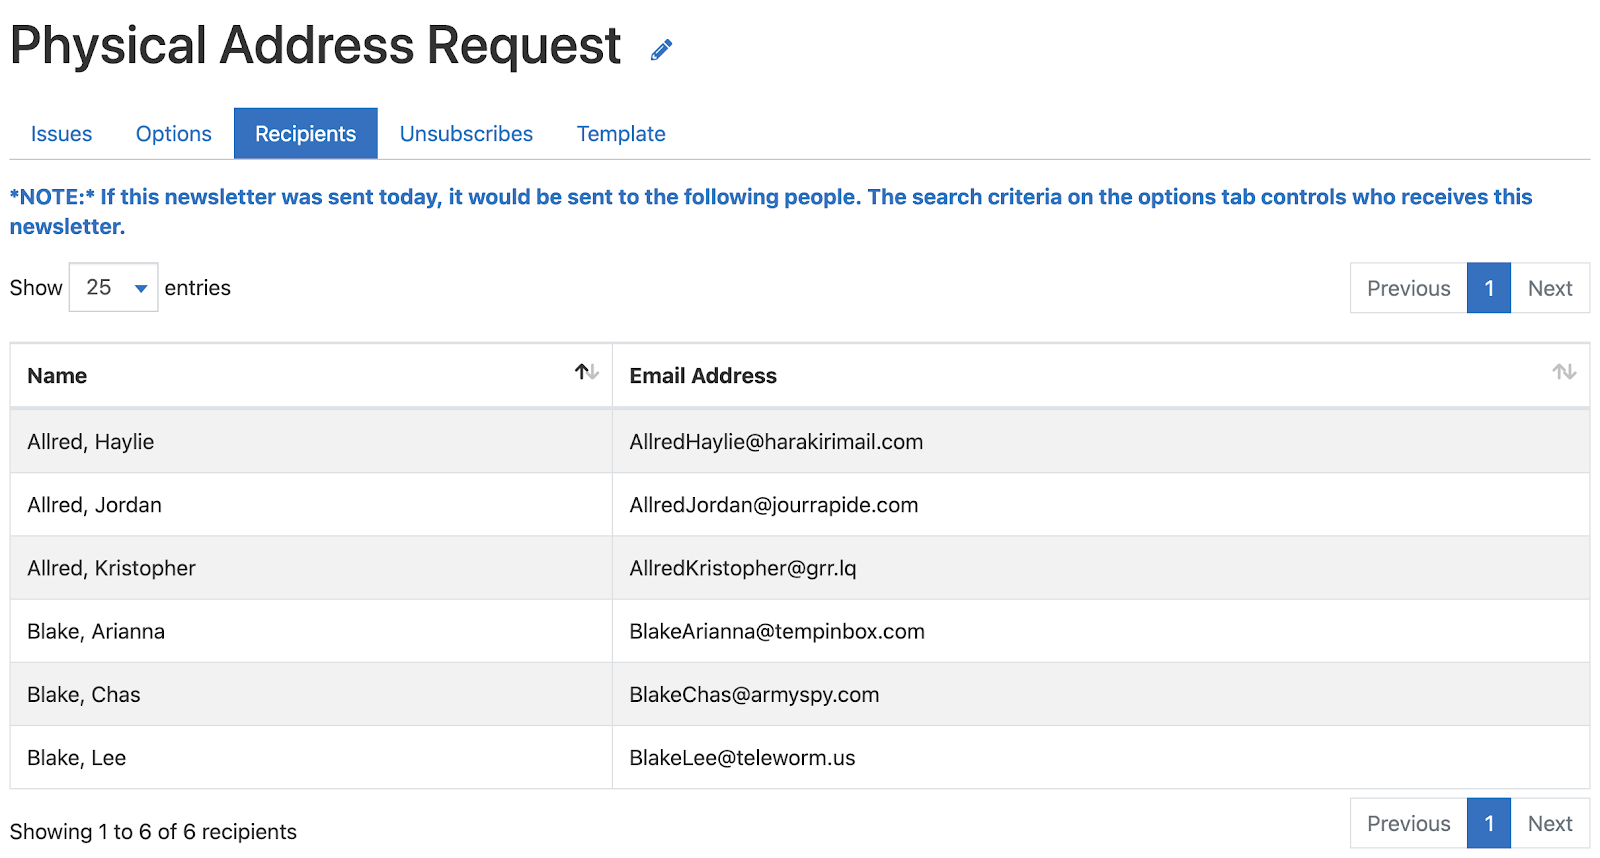
If there are no Recipients listed, double-check your filter to ensure it’s set as desired. The Newsletter will ONLY be sent to those that are listed.
Since we have recipients, we’ll move on to the Issues tab.
To send out the Newsletter, we’ll click on the +Add Issue button.
We’ll set the time that we want the newsletter released and edit the Subject line if needed.
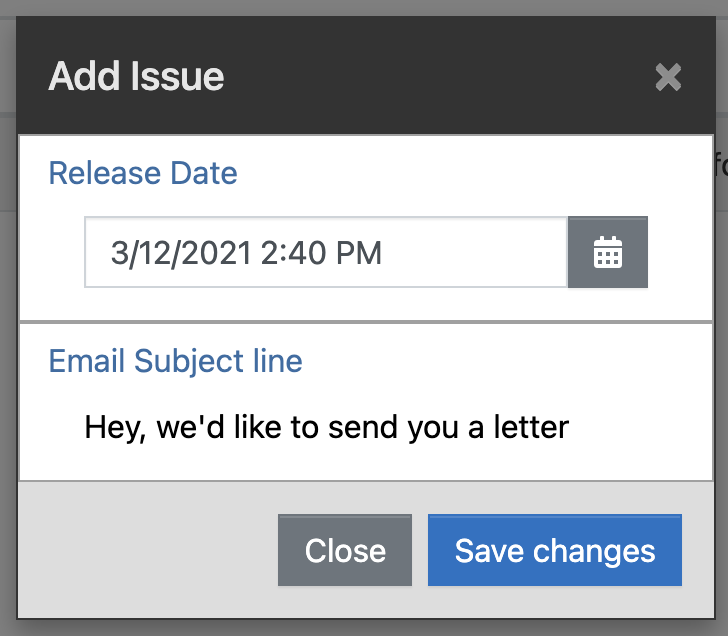
Then click on Save Changes when done.
The draft has been created, but there are still a few more steps.
Do you need to edit the contents of this Issue of the Newsletter?
If so, click on the vertical ellipsis to the right of the row, then click on Edit Contents.
Want to preview what it will look like? Click on the View Issue link.
You can also Delete the issue or Send Test Issues before publishing.
If you’re ready to send this issue of the Newsletter, click on the Edit Options link.
Then, change the status from Draft to Published.
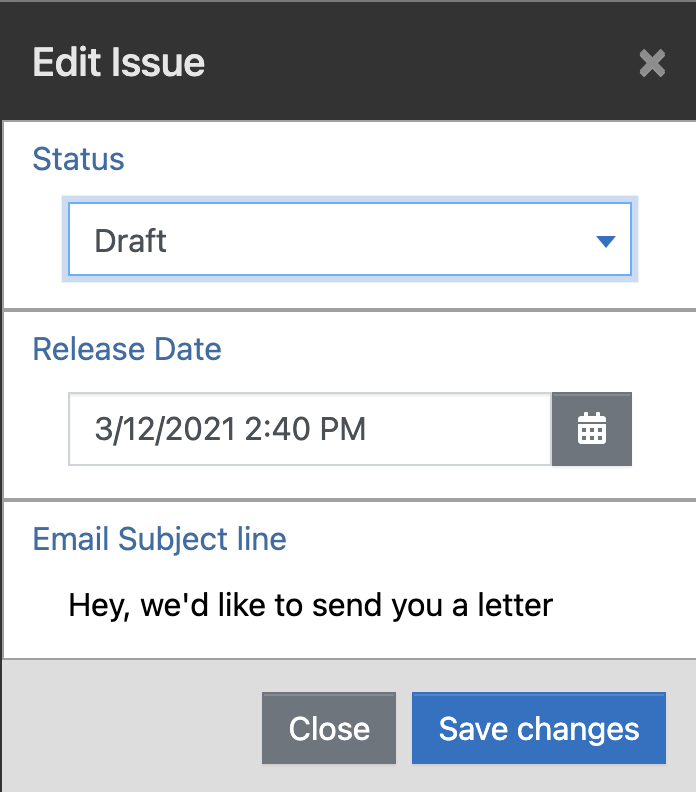
Once you’ve changed the status, the Issue will be sent to the listed recipients for that Release Date. (Remember, whatever day that you publish on might determine who is filtered as a recipient if the parameter is date specific.)
That’s it! You’ve created and sent a Newsletter.
Newsletters and Empower’s email feature provides unlimited possibilities to connect, inform, and shepherd your congregation. For more information and ideas, keep an eye on our blog post as we encourage you with tips and tricks for getting the most out of your church’s software.