Importing Contributions from a Third-Party
Technology is fast-changing. You’re likely to have multiple streams of contributions each week. Maybe it’s through your website, maybe it’s donations from PayPal, or maybe your secretary was out for a week and the deposit was made via a spreadsheet. Whatever the reason, let’s walk through how to easily update your Empower records as needed.
When importing your contribution records from any third party other than Vanco, you will need to collect that data in a .CSV (Comma Separated Values, typically created in a spreadsheet format using Microsoft Excel, Google Sheets, or Apple Numbers).
Before we get started, click on the Download File Layout button in the page menu. Your data must be structured like this example for Empower to import the correct information into the correct fields.
Adding a New Import Source
Once you have downloaded the example file, let’s Add a New Import Source. You will find this button in the page menu as well. Clicking on it will prompt the Import Source pop-up window that will walk you through the steps. This setup will only need to be done one time per import source.
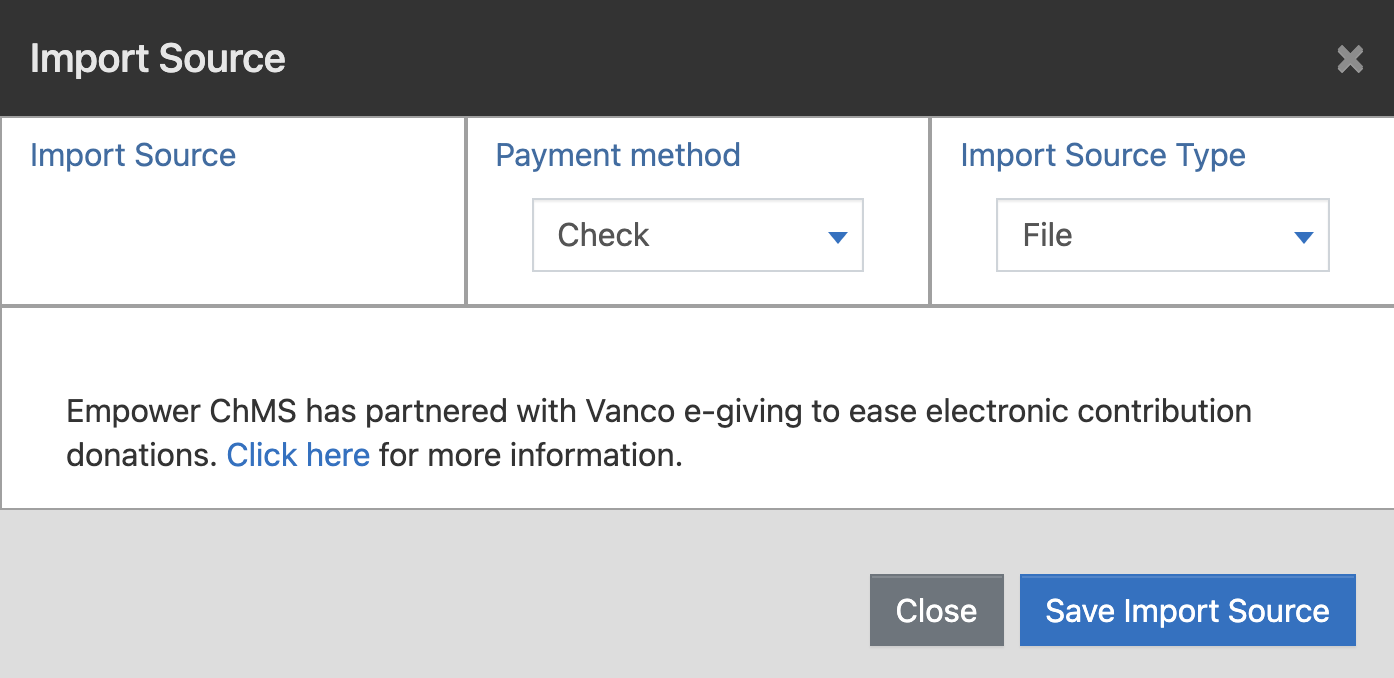
The first thing that we’ll need to do is give a title or description for the source. Let’s call this one Website Giving Portal. We’ll type that in the Import Source field.
Next, set the payment method. For this example, we’ll use Online.
If you use Vanco for online Payments, Import Source Type is where you will select that. For more information on Vanco imports, see our support article dedicated to that process.
For now, we’ll assume that we’re using another online giving portal. This third-party giving portal provides us with a report/file that we now want to import into Empower. Our Import Source Type will be “File”. Next, we will use the template file and the exported report to create a new file to import.
Click Save Import Source.
Matching the Data in the File Layout
Now that we have created an Import Source we’re almost ready to begin the import process. Before we do, we want to make sure our file is set up appropriately. Open the .CSV file template and open the spreadsheet exported from the other source.
Each column of the spreadsheet needs to be in the same order with the same headers as the template file.
Each contribution should be represented by a separate row.
Importing the File
Once the file is ready, click on the Import Source and then click Import File in the page menu. This will prompt another pop-up window asking you to select the file. Click Choose Files and find the file on your computer.
If you left the headers in the columns on the file, be sure to toggle the button that says “The first line of the import file contains field names”. This will remove those from the import.
You should be shown a preview of the first few lines that will be imported. Double-check these fields to make sure they are showing appropriate data.
Click on Upload File when you’re ready to import.
Matched and Unmatched Donors
Before we finalize the import, we’ll need to correct any issues with the file and donor matching. Most likely, the Donor ID’s from the external software will not automatically translate to Empower.
After importing the file, we will need to match each donor to an Empower Giving Unit.
If you’re on the Summary profile tab, you will notice that the next steps likely displays that there are a number of unmatched donors. Let’s then click on the Unmatched Donors profile tab.
You should then see a list of the donors that you just imported, but that does not match a Donor ID in the Empower database. You will have to manually match and confirm each donor to the correct Giving Unit in Empower. Empower will then attach that Donor ID to the Empower member and remember it for future imports.
To match these donors, click on the donor in question, then click on either Add New Donor or Locate Existing Donor in the Possible Matches field.
To Add a New Donor, you will walk through the same process as adding a Contributor.
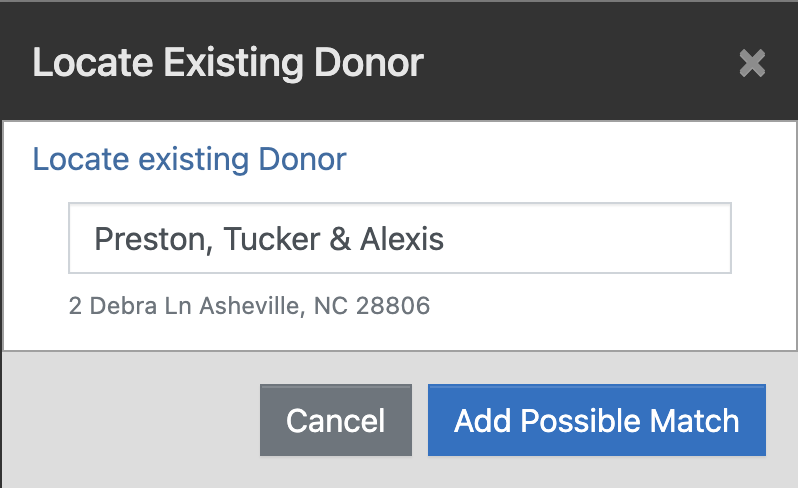
To Locate Existing Donor, you will search for the Giving Unit using the search field, then click Add Possible Match, once the correct donor is selected.
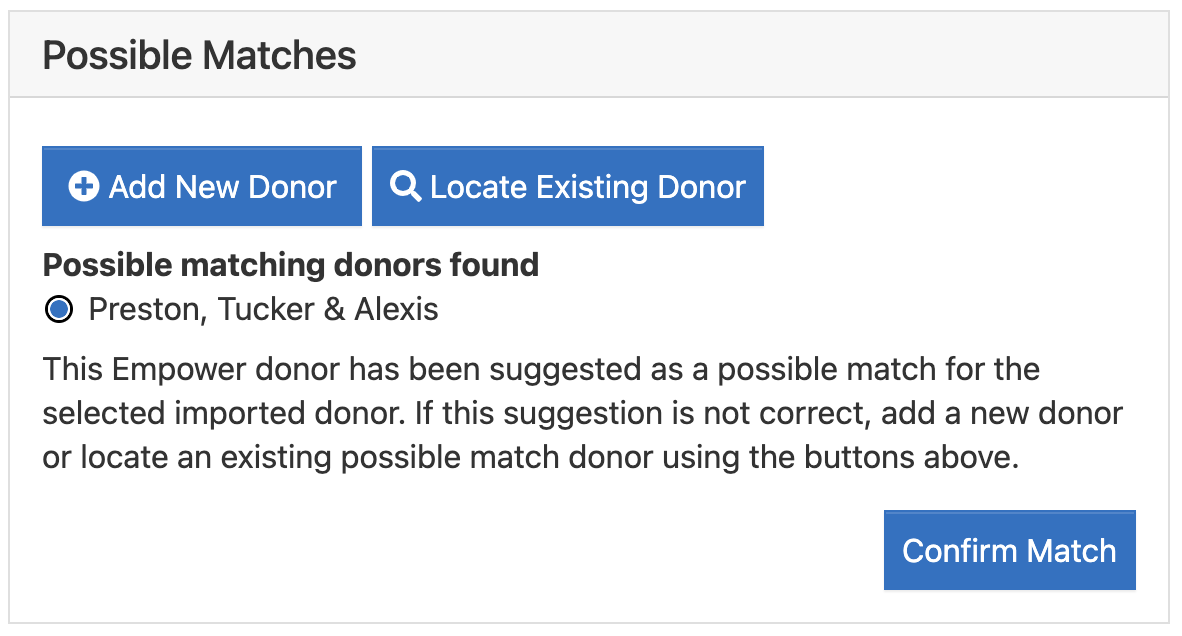
Once selected, you will still need to Confirm Match in the Possible Matches field.
Simply click on the Confirm Match button to the bottom right.
If you have any issues during the process, the Next Step profile field will give you specific steps that need to be taken.
All of the imported contributions must be resolved before we can finalize the import.
Processing Imported Contributions
Once we’ve matched all imports to the correct Giving Units it’s time to Process the Imported Contributions.
Find and click on the Contributions profile tab.
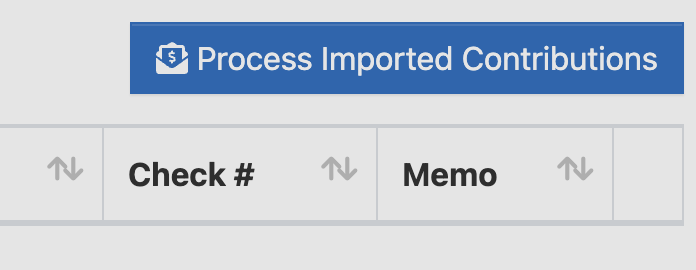
Once there, you should see the contributions that have yet to be processed listed in the table. In the top-right corner, the Process Imported Contributions button will be our next click.
After clicking this, you will be asked to confirm Processing the Import. Click through and you have completed the import process from a third-party source.
Importing from Vanco
Importing from Vanco works just like other third-party, but with fewer steps. Because of the Vanco partnership, Empower can automatically import your contribution file from Vanco.
It does still require you to manually import the file from Vanco, however, Empower will automatically sync all information with Vanco once the Donor IDs are correctly matched the first time each one is imported.
Have a technical question about importing third-party Contributions? Reach out to ask our Support Team.